| 1st marking Period for ___________________________________ anything turned in after Monday 10-18-16 will not be counted AJS11-0___ | ||||||||||
| Participation | (5%) | Due | Late? | E.C. | Due | Flick | Photo (s) | |||
| Presentation | 23-Sept | 8-Sept | Selfie&Best | __ /2 | ||||||
| Flickr & QR | 8-Sept | 14-Sep | Diagram | __ /1 | ||||||
| drawing | 14-Sept | 5-Oct | PPT #2 | __ /12 | ||||||
| press pass | Power Points (30%) | 11-Oct | Photostory | __ /10 | ||||||
| SD card (5%) | PPT #1: Camera | 11-Sept | 14-Oct | 4 lights | __ /4 | |||||
| PPT #2 Photo Art | 05-Oct | 17-Oct | Test | __ /3 | ||||||
| QUIZ (10%) | PPT #3:Lights | 14-Oct | 18-Oct | Total | ___ / 30% | |||||
| DSLR____ Test with write up (20%) | ||||||||||
last week for marking period 1: Project Test #1
But first let's learn how to set up the camera to take the picture in Manual Mode...
read up on the manual on how to adjust the camera setting in "Manual" M mode.
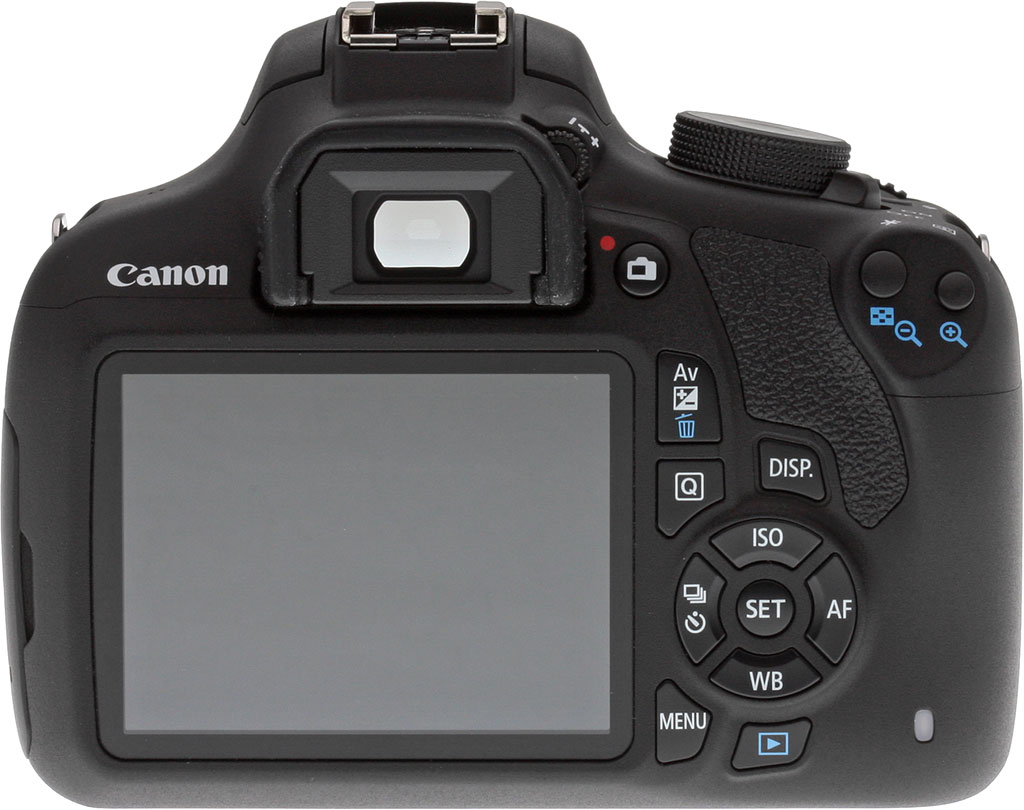
2nd, 3rd and 4th period - Canon Rebel T-5 manual


6th pf Nikon d3200 manual
read up on the manual on how to adjust the camera setting in "Manual" M mode.
2nd, 3rd and 4th period - Canon Rebel T-5 manual

take 1 set HIGH to Low ISO, 1 set with large vs. small aperture (AV) and 1 set of fast vs slowshutter speed (Tv)
6th pf Nikon d3200 manual
8th pd Nikon d3100 manual
read this article over the weekend from Digital Photography School .com or DPS.
Project #1: Due Wed 10-17-16 example
Value of Light in Manual Mode (use hardlight) Flickr pix # 30a, 30b,30c(b&w)
**************************************************************************************************
For this TEST project you have to shoot your " art piece" in Manual mode only.
set the camera in the following setting!
In Menu: set the image quality to RAW (NEF/CR2) + fine / L and the ISO to 400 (light sensitivity).
 In Aperture Mode : Adjust the f-stop to F/6.3
In Shutter Speed Mode: Adjust the shutter speed or exposure to 1/100 sec
Take one in this setting. if the picture comes out too bright or too dark. you may NEED to make some adjustments to obtain a properly exposed photo without flash.
Upload JPG to Flikr.com as pic #30a-b
#30a: Test default setting - what is wrong with it?
#30b: corrected setting - what did you adjust?
#30a: Test default setting - what is wrong with it?
#30b: corrected setting - what did you adjust?
************************************************** Google share .NEF or .CR2 first as Part 1***********
Part 2: Post retouching with PHOTOSHOP
After you upload your photo to your computer.
open Photoshop and look for BR or Bridge to locate your NEF file.
open NEF (RAW) file in Photoshop. in the open camera RAW editor. (watch video )
make your adjustment. like Exposure - fill in the light - add the black... etc.
when you are done. OPEN IMAGE and save in JPG so you can upload this as Pic #30c on Flikr.com
once uploaded to FLickr goto Avairy and de-saturate to B&W
*********************************************************************************
Part 3: Write up (printed) & Present Flickr in class.
goto pupilpath to download the writing template
goto pupilpath to download the writing template
talk about all the technical aspect to create this Still life project.
making sure you include. ISO, F-stop, exposure and focal length.
Write Up: (How were you able to create the Value of light in this photo?)
What SD card did you use for the test? Explain how this Photo is an art work.
Does it contain an element of art? What about its Design principle?
Does it contain an element of art? What about its Design principle?
How did you set up the lighting for this photo-shoot? what kind of lighting did you use?
What did you find / learn from this art Project?
******************************************************
yeah 1st marking period is DONE!

No comments:
Post a Comment