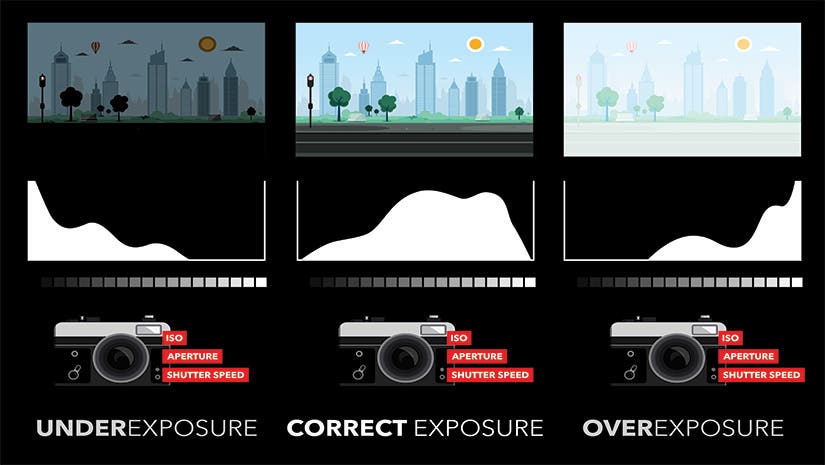
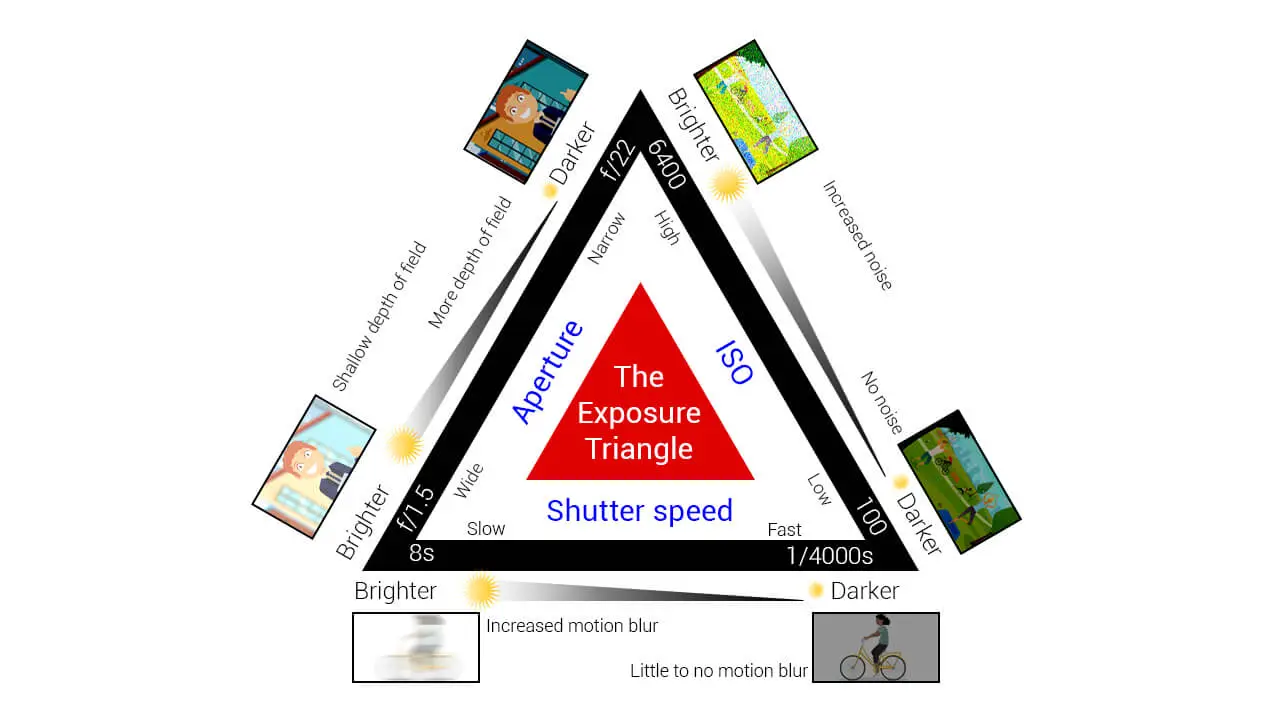
EXIF = ISO, F-stop, Shutter speed and focal length
MP2 album list:
# 31-40 PS# 2: Food Story
# 41-42 (aperture set) Exposure triangle practice
# 43- 44 Reflector photos
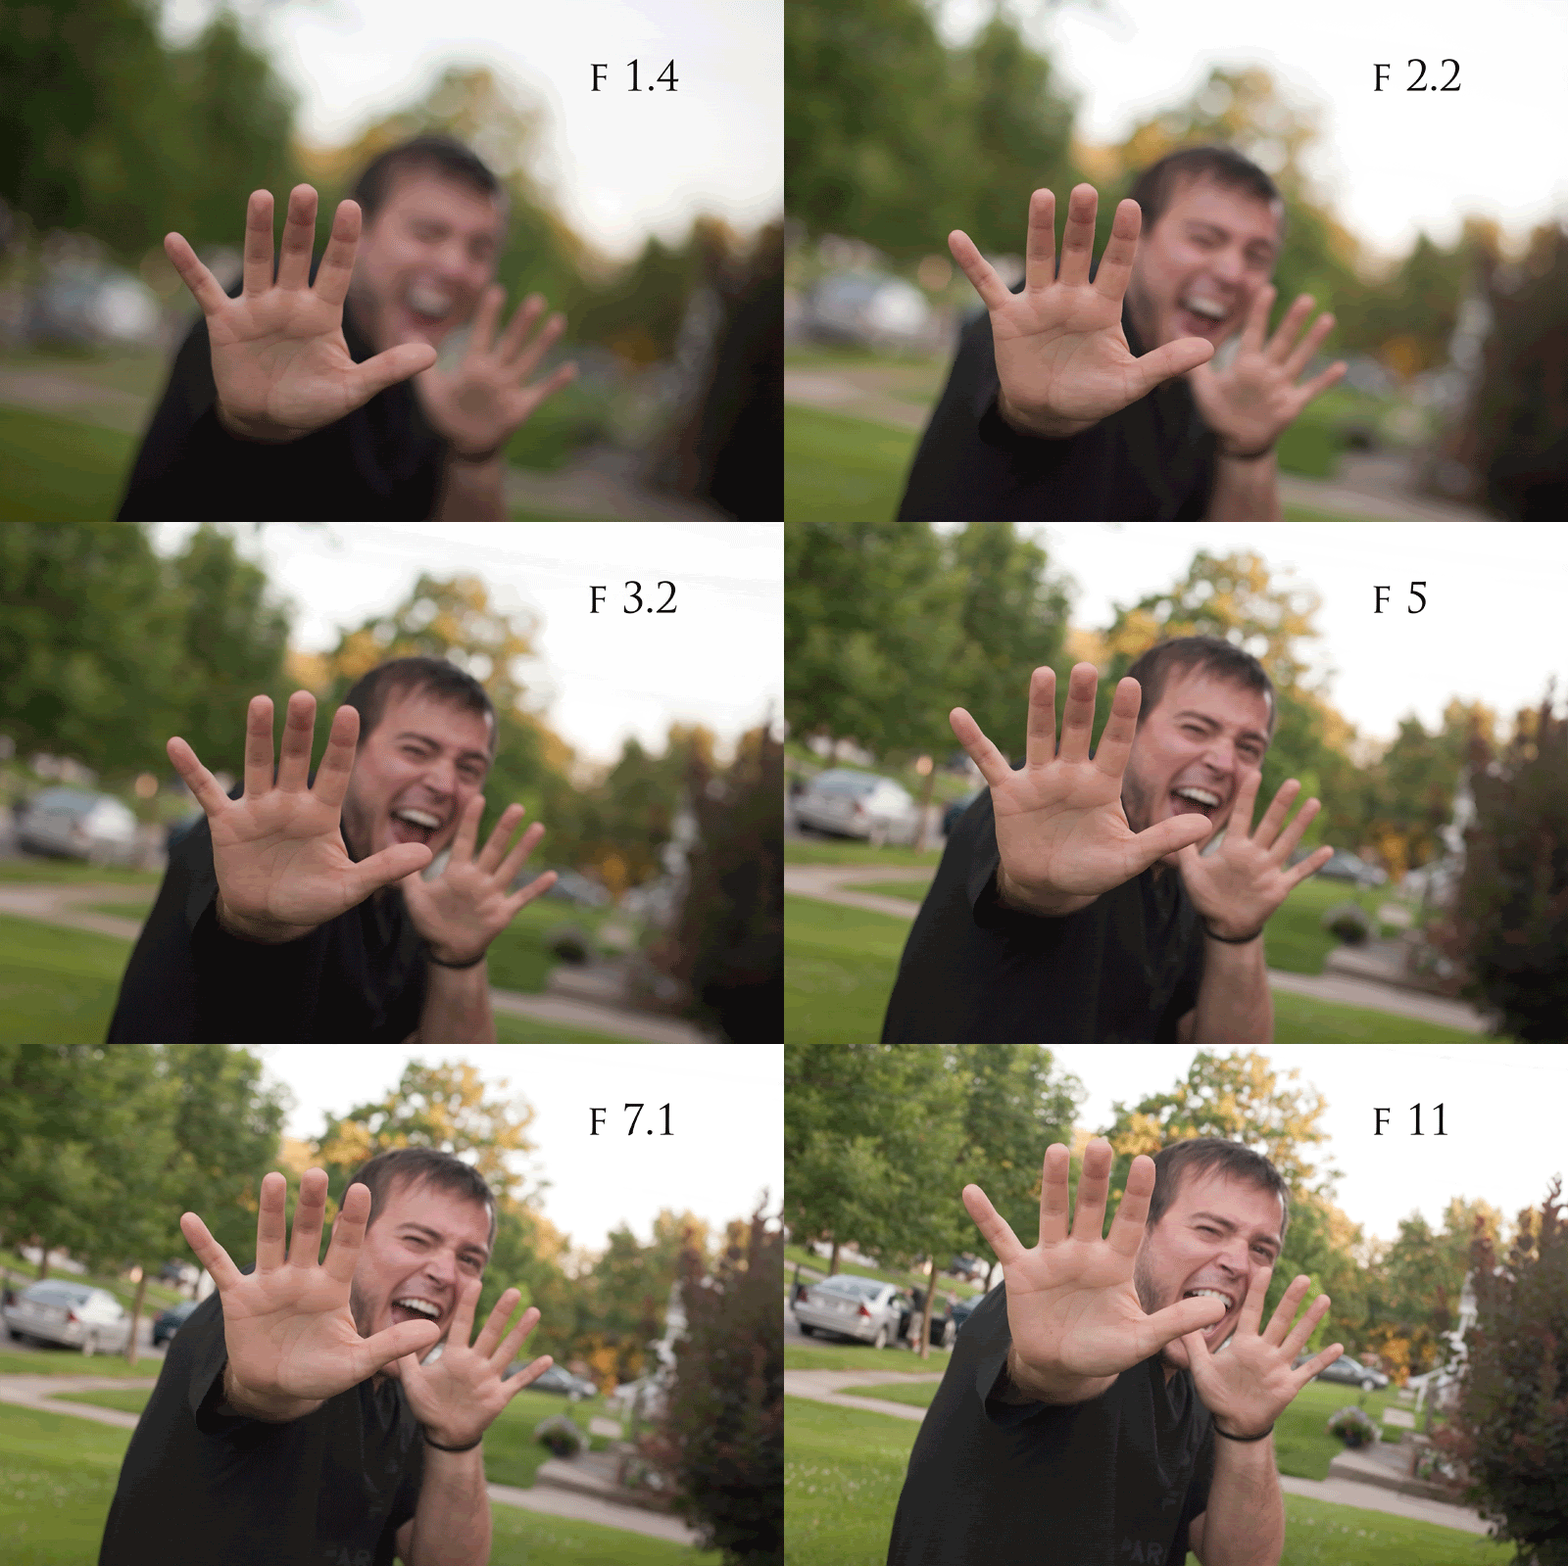
# 45 a b c (practice for Project /Test # 2) which one has the deepest Depth of Field (Dof)?
# 46 a b c (Practice Bokeh Portraits) which one is best for Bokeh?
# 47 a b c (control group for Project /Test # 2) which one has the deepest Depth of Field (Dof)?
# 48 a b c (Bokeh Portraits) which one is best for Bokeh?
8 Q & A due at the end of the period. if you did not finish at the end of the period as extra credit to the lateness add your DSLR practice photos after Q# 8. Otherwise start reading CH 3.
1.Explain how this Bokeh effect Portrait is an art work. What is the message here?
2.Does it contain an element of art? What about its Design principle? (refer to PPT #2)
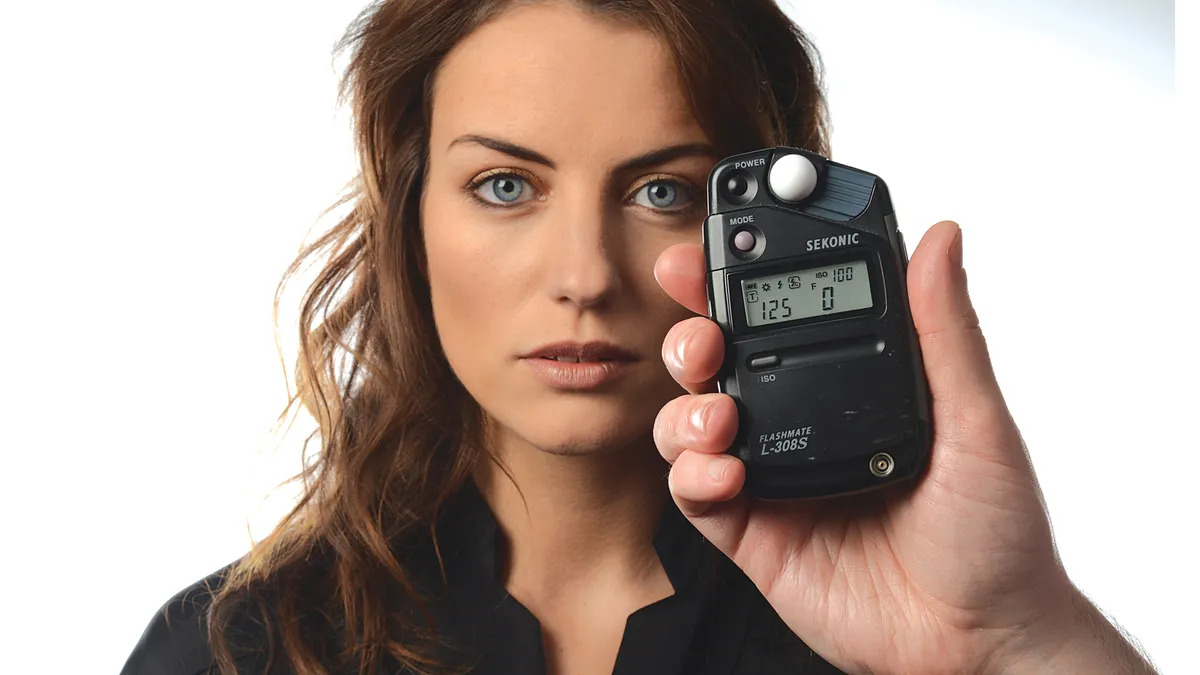
3.How did you set up the lighting for this photo-shoot? 4.What kind of lighting did you use? (refer to PPT # 3)
5.How did you come up with the right setting for this picture? (the exit slip) 6.What was the type of lens used for this project? which focal length was best the Bokeh effect?
7.What did you find / learn from this art Project?
8.What was your experience like working with a live subject?
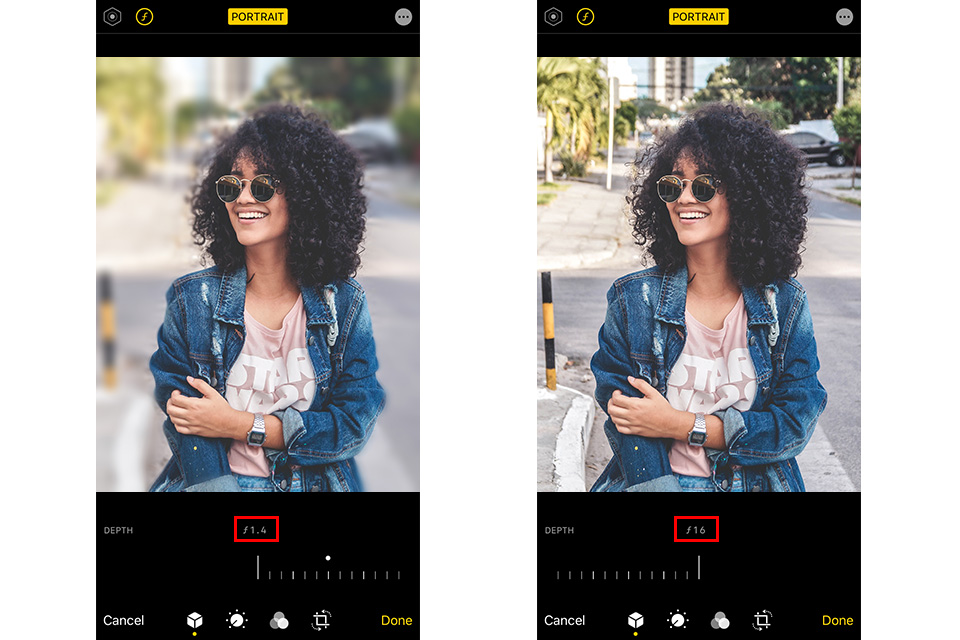
Did you take your Bokeh portrait photos (3 with f/1.4 & 3 with f/16 or just regular mode) you need to move closer and farther from your model if your phone does not let you zoom in or out in the portrait mode.
ISO Bracketing
Take in manual mode - keep the aperture & shutter speed the same while you change your ISO from 100 to 6400 on the DSLR. Upload to your PPT# 5 -slide 12 and download as a .JPG to upload to your photo album as photo# 51.
Upload your DSLR practice photos to your google photo album.
Label them without the numbers since they are practice. which yield the best Bokeh effect?
Practice shots
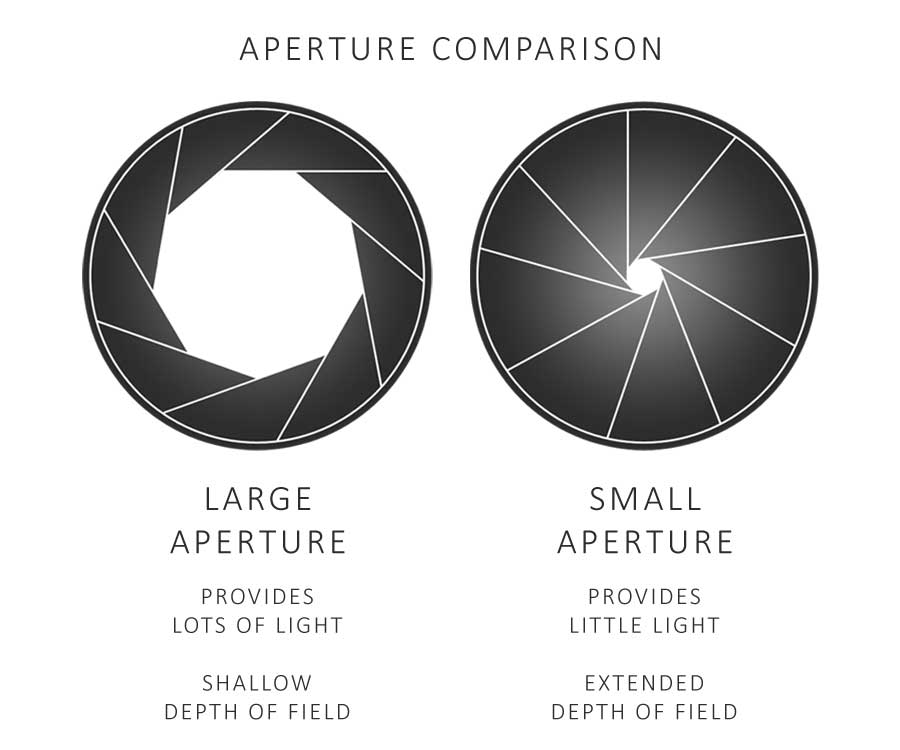
f/22 (small aperture) set in 18mm - observation vs. f/5.6 (large aperture) set in 18mm- observation
f/22 (small aperture) set in 35mm - observation vs. f/5.6 (large aperture) set in 35mm- observation
f/22 (small aperture) set in 55mm- observation vs. f/5.6 (large aperture) set in 55mm- observation
************* iphone simulated f/1.4 vs f/16 *********************************************************
extra credit - aperture bracketing...
Classwork: take pictures now with your phone. in both regular mode and portrait mode.
* for portrait mode if you can't zoom then you need to physically move closer to your subject to achieve the zoom effect. take headshot photo in landscape format so you can see the background being blurred out.
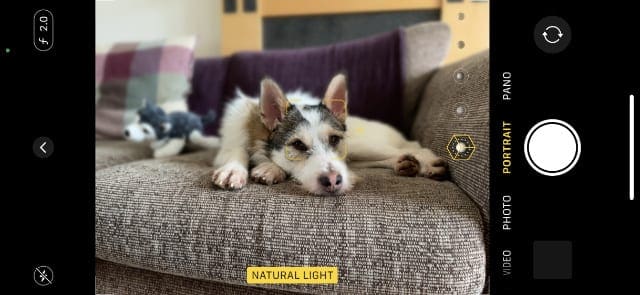
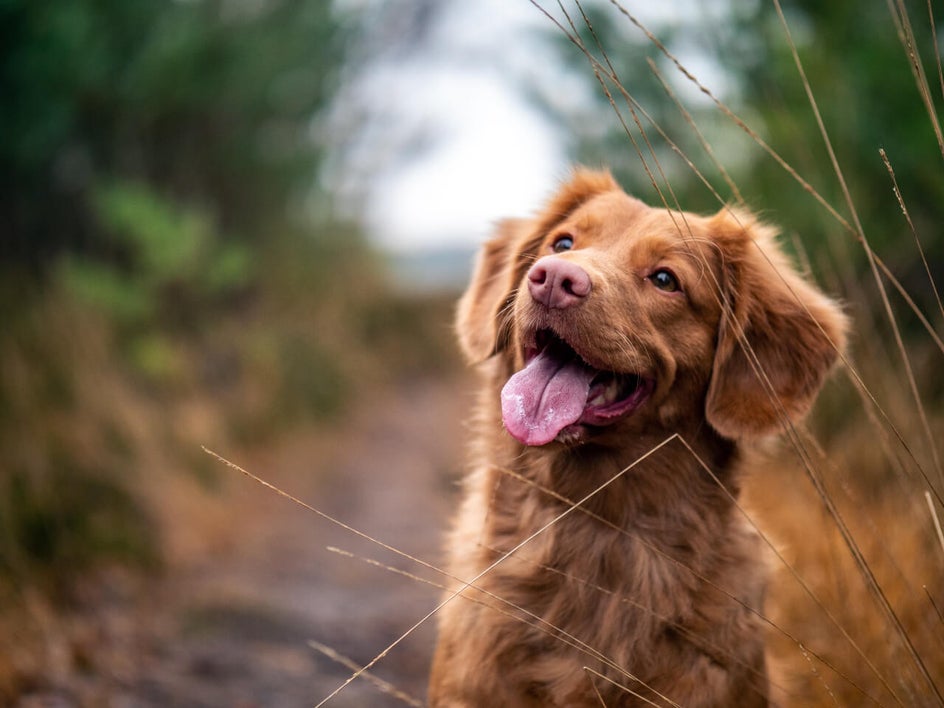
Portrait mode blurs the background of your photo while keeping the subject in focus to create what’s known as a bokeh effect. This results in striking images that allow the subject of your photo (be it a person, an object, or a pet) to jump out from the background.
Portrait mode blurs the background while keeping the subject in focus.
A camera traditionally achieves this depth-of-field effect by changing the aperture of the lens, but your iPhone uses software magic instead. Clever algorithms find the subject of your photo and then blur the background accordingly.




 take pictures now with your phone. in both