Wednesday, November 20, 2013

Flickr check list


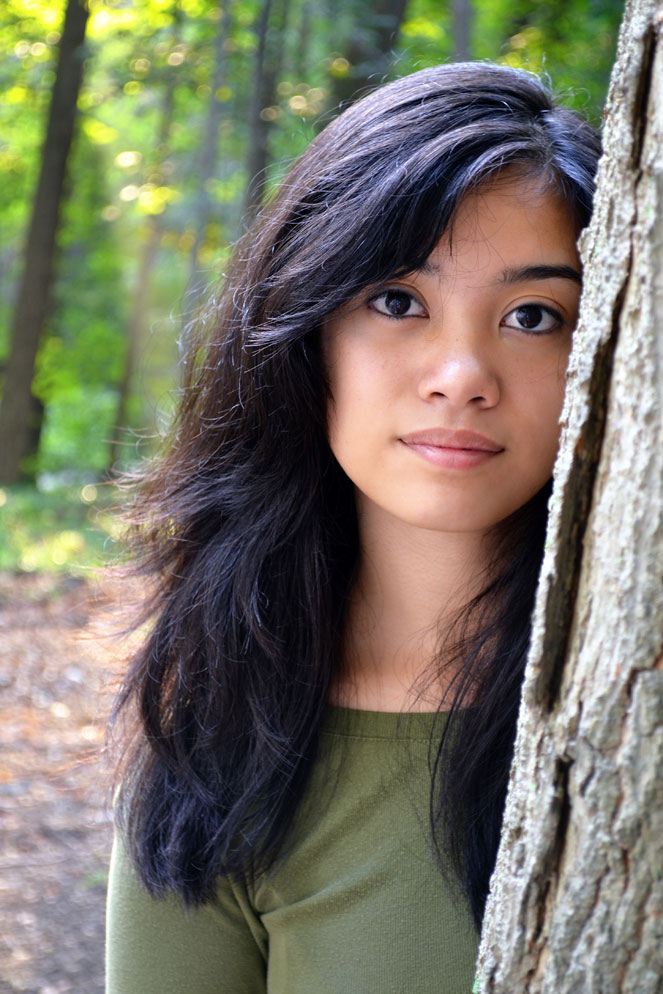
1. Selfie

2 to 13: element and principal of art in photography

14-15:Project 1: Hard light original & editted
************************************************************
16-19: 4 types of lighting 

20:Project 2A: Best of the Portrait session (Softlight with Relfector)

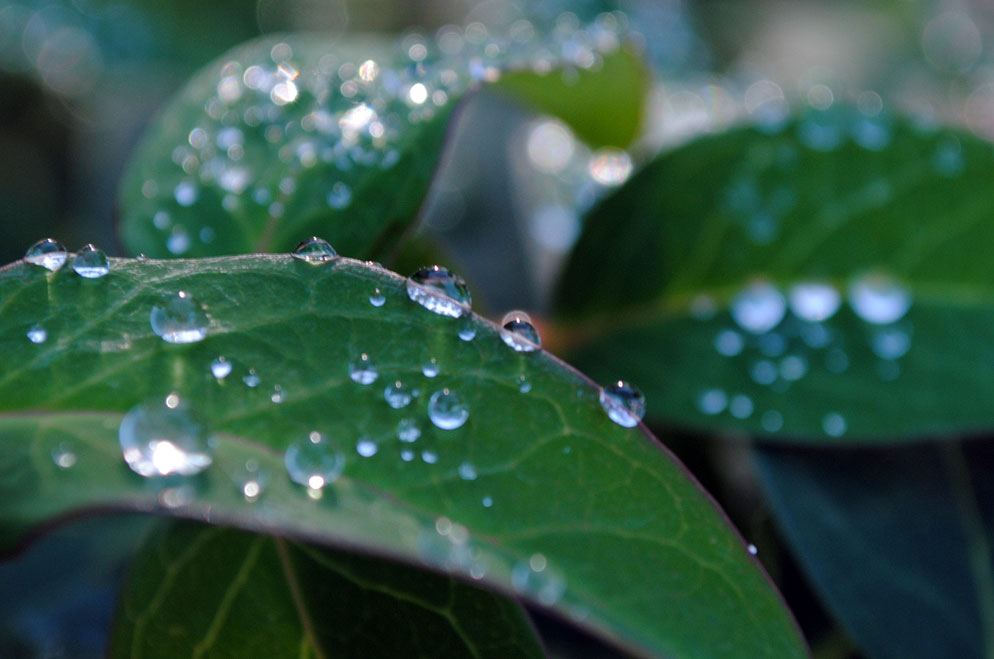
21-23: Project 2B: effects of aperature (Bokeh effect)

24-33: 10 composition by you!

34-38: take 5 on shutter speed

39-40: Copycat! your imitation from the great masters. (one film, one digital)
***********************************************************


week #5 Update and wrap up

Monday: Update Flickr to 33 required photos.
Tuesday : Quiz # 3
Wednesday: Project #3 due with write up.
Thurday: History of Photography
Friday: Submit your proposal of Mimicking a great photographer.and 6 themes for 3rd marking period.
*********************************************************** Report card time!********

This marking period your grade will be based on 3-2-1 with 40 Flickr pix.
3 powerpoints - ppt#4 Lens (ch 2) ppt#5 composition  ppt #6 Lights and Exposure (Ch3)
2 projects - Project #2 - Various Aperture effects (Portrait with Bokeh effects)
                - Project #3 - Various shutter speed effects (Motion effects)
1 Test - Made up of the quizzes we took.

*********************************************************** Hope your are doing well***
some tips on improving your work...
http://www.outdoorphoto.com/guides/waterfall_photography.php

Tuesday, November 12, 2013

Week#4 (Nov 12 to 16) Shutter Speed (Ch 3)

After learning how to compose a picture within the frame, we are going to experiment with Shutter speed this week with Project #3 with 5 shots of various shutter speed (see pg 16-19 &154 in your textbook). We will shoot in Manual or S mode. Again both RAW & jpg file. So we can edit in Photoshop via Bridge if you need a refresher of Photoshop fundamentals goto http://www.tutorialboard.net/psfundamentals/ .

shoot with the following setting... ISO 200
•Aperture f/8
•Shutter speed
•1/4000,
•1/2500,
•1/1250,
•1 /30,

•1 sec… 
bonus 10 sec by doing a light painting with your name.


meanwhile work on Powerpoint #6 :Ch 3 from our reading and Karl Taylor's lesson 7 and 8 (video).

Read pp 51 to 70 (Lighting and exposure) 12 slides. Due next week Monday. (Quiz 3a and 3b)


Tuesday, October 29, 2013

Week of Nov 4: Composition in Photograpghy

Review: Focal Length Quiz 2B

then Composition with REDO of Bokeh Effect 
 D3100, 55mm lens, 1/10 second, f/5.6.
Bokeh comes from the Japanese word boke (ボケ), which means "blur" or "haze", or boke-aji, the "blur quality." Bokeh is pronounced BOH-Kə or BOH-kay.

D3000, 55mm lens, 1/60 second, f/8. Although wider apertures are better, 
you can still get bokeh with smaller f/stops

Powerpoint #5
http://www.nikonusa.com/en/Learn-And-Explore/Article/h7dfrceh/5-easy-composition-guidelines.html

http://www.photographymad.com/pages/view/10-top-photography-composition-rules

http://photofocus.com/2009/11/30/25-photo-composition-tips/

wrap up with Karl Taylor Lesson 13

Thursday, October 24, 2013

Project # 2: Portrait Due Nov 1 2013

watch Karl Taylor's lesson 5: Natural (soft light) Portrait

Highlights:
1. Choose the bright part as the photography background and significantly blur.
Choose the bright part of the light as the background, to avoid the picture gives a heavy impression. Evergreen plant's color is more concentrated, even if they are virtual, the color is not so beautiful. Shooting background does not must be plants, you can also choosebrightly colored walls.
2. Backlight makes the hair produce high light effect.
The subject's position must be carefully figured out, choose a suitable location, make the hair appear high light, it looks very shiny.The hair once seemed shiny, the expression of the character will give viewers a special impression. If the hair looks black, the whole picture will appear dark, so the photographer needs consciously add high light.
3. Use reflective panels to make the dark face become bright.
The effective use of reflectors can make the dim face become bright and the skin have rich texture. When shooting portraits, in principle, should use the backlight or edge-lit instead of smooth light. Reflectors are outdoor shooting portraits must carry tools.
4. While framing you can crop the arm.
Anyone would like to try to shoot beautiful photography background blur portrait photos. Manufacturing virtual lens elements areaperture size and focal length. These two factors affect each other produce blur effects.  Focal length of the lens is certain, the larger the aperture, the more obvious bokeh effect . Fixed aperture value, the longer the focal length, the more obvious the bokeh. From theconclusions, bright maximum aperture and longer focal length telephoto lens can bring the most obvious blur effect.

Review first before taking your pictures http://tech-tut.com/page/2/


take at least 10 pictures with different Aperture setting...
we will be observing on the effect of different aperture on the portrait shoot.
After reading about the lens lets explore the effect of aperture (lens opening) on your photo.
Karl Taylor's Lesson 5-8
Find a subject (your model) & go to a location with a large area of light, i.e. next to a window. the background should be at least 5 feet away.
Use a reflector to fill in the shadow... take a minimum
of 10 pictures for your write up. Shoot in (A) Aperture mode, let the camera decide the shutter speed for this assignment. start with ISO in 200. (adjust if necessary) Shoot in RAW + JPEG.
refer to blurry bkgd
  Good luck and have fun!    quiz1  quiz2

Tuesday, October 22, 2013

2nd marking period - Ch 2 Lens (PPT #4)

http://www.nikonusa.com/en/Learn-And-Explore/Article/g3cu6o2o/understanding-focal-length.html
Read Ch 2 Lens (pg 29-49)Due 10-23-13
Powerpoint #4 1. Lens Focal length(what is your lens?)
2. Normal Focal Length
3. Short Focal length
4. Zoom, Macro, and fisheye lens
5. Focus & Depth of field+ More
6. Perspective
7. Lens Attachments

Karl Taylor's Lesson #5 to #8 (due Nov 1)
Portrait techniques Soft light (project #2) shoot in Manual

Ch 3 Lights & Exposure (pg 50-71)Due Nov 8
Powerpoint #5 Reflect on each topics discussed in the book
Project # 3 (Timed Exposure) Capturing lights as a medium to show time.

Wednesday, October 9, 2013

Project #1: Value of Light (tone) in RAW (NEF)

15 common questions for a beginner photographer

lighting set up

   due 10/15/2013
start with the following setting: ISO 400, aperture f/5.6, shutter speed 1/250, on Manual
your final settings are: ISO ___ Aperture _____ Shutter speed _____ why did you have to change it?

RAW file size =____ JPEG file size ____ Editting RAW (NEF) with Photoshop. go to Editting Part 1Part 2

If you don't know how to set up the camera RTFM!
"RTFM"
As in “What does X button do? How do activate Y mode? Where do I find Z function in the menu?” “RTFM!”
Often spat in the direction of people who repeatedly ask questions about their camera functions on internet forums, RTFM stands for Read The Frikkin’ Manual (we’ve substituted one word here to protect fragile photographers).
And for those who did read the manual, here is what your digital camera’s manual didn’t teach you.